My neighbor showed up one morning with a ladder and a gallon of paint and said, "You can fix it in a day." I rolled my eyes until I watched her paint the trim a warmer cream and suddenly the whole house sighed. Little, targeted changes to a front elevation make a cottage feel intentional, not staged. Here are 13 simple ideas I actually used or helped friends apply, with real product links where they helped.
These ideas lean cottagecore with a hint of vintage garden charm. Most projects run from under $50 to a couple hundred for bigger pieces. They work for full fronts, small porches, or even a single curb-facing window where you want that lived-in cottage feel.
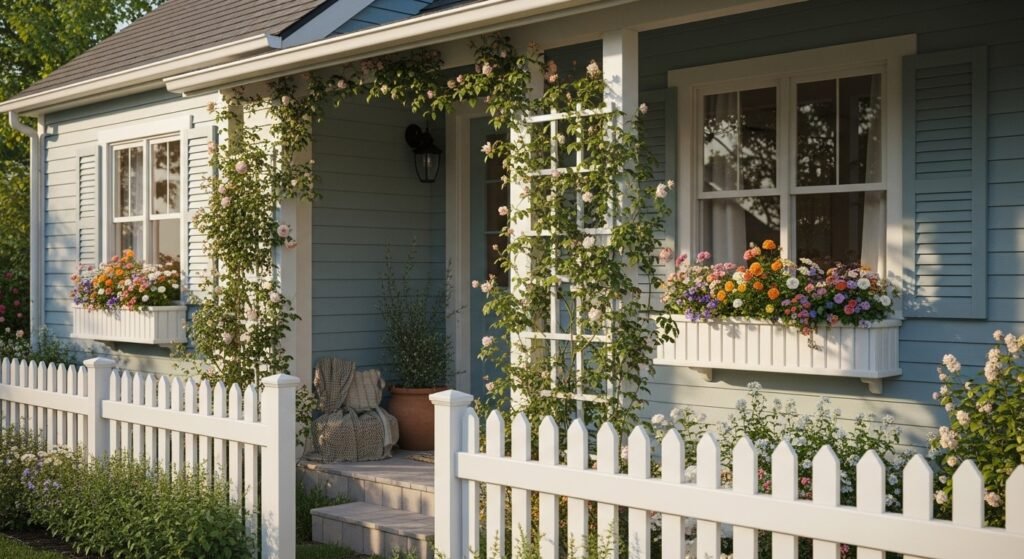
Honeyed Pastel Paint With Weathered Trim
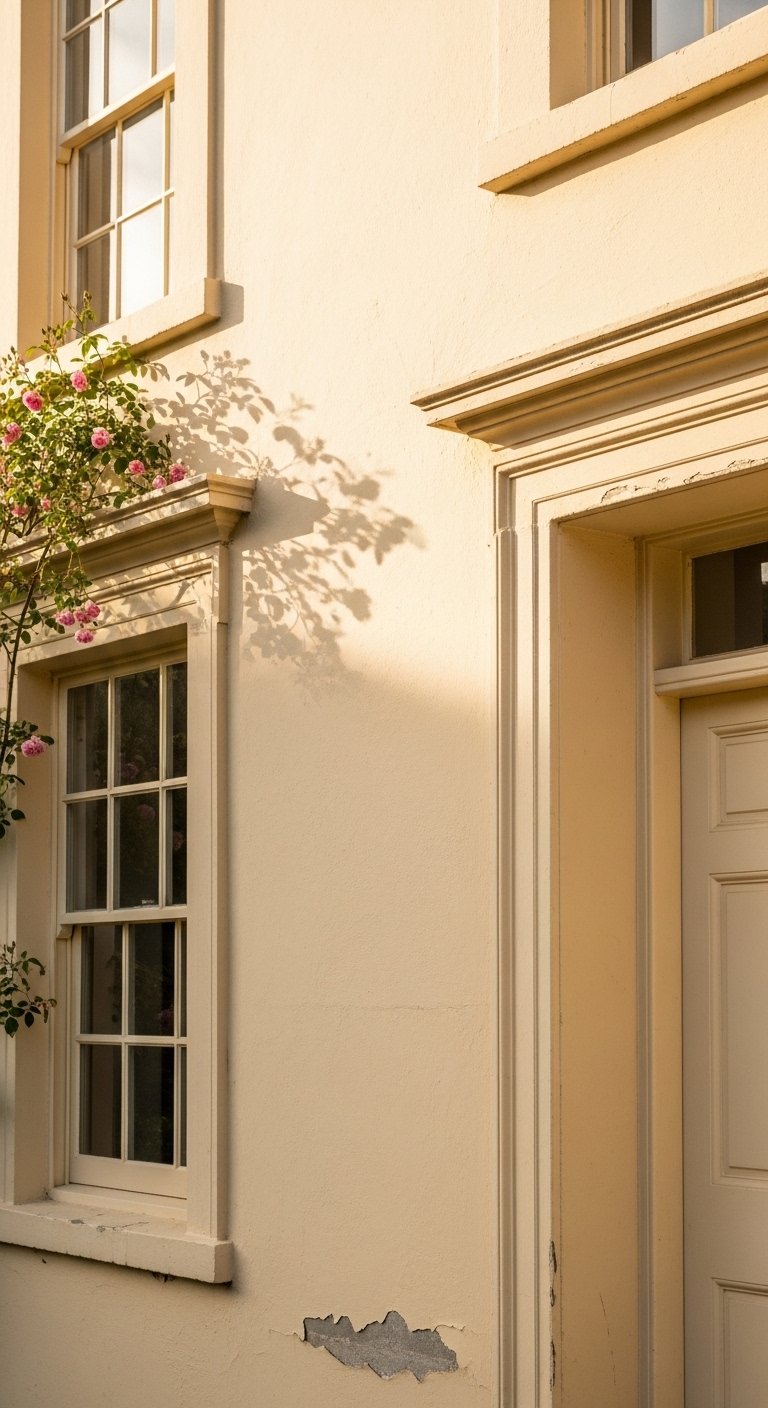
I started with a single sheet of 2×2 pine board to test paint colors in morning and afternoon sun. Pick a base pastel for siding and a warmer cream for trim to stop the flat look. Paint stores can scan fabric or chips, but a third of matches flop because of bad lighting, so move your swatch boards around the porch for a full day. For small runs use exterior sample pots like exterior-paint-sample-pots while you test. Common mistake, people match under store fluorescents and then hate it at home. A practical detail I learned was to add 5 to 10 percent warmer tint when your porch faces north, it avoids a chalky blue cast.
Climbing Roses On A Simple Trellis
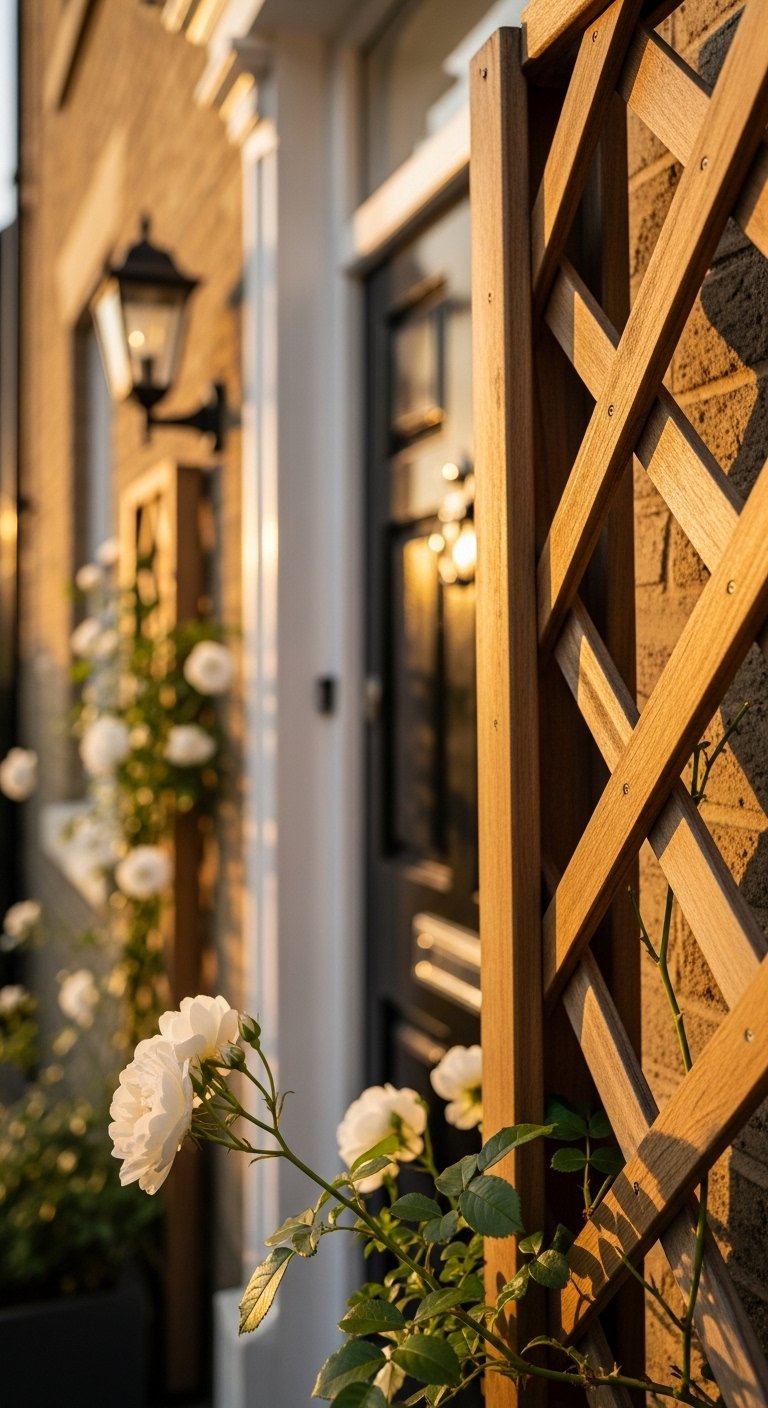
Climbing roses frame a doorway like nothing else. I installed a 6-foot cedar trellis and trained two roses on either side, tying new shoots loosely to avoid bark damage. For balance, leave 10 to 12 inches between trellis and wall so paint and wood can breathe. Buy a ready cedar trellis like cedar-wood-trellis-6ft and use soft garden ties. A mistake I see is planting the rose too close to the foundation which then blocks ventilation. One extra detail people miss, prune in late summer not early spring for repeat bloom on cottage varieties.
Window Boxes Overflowing With Geraniums
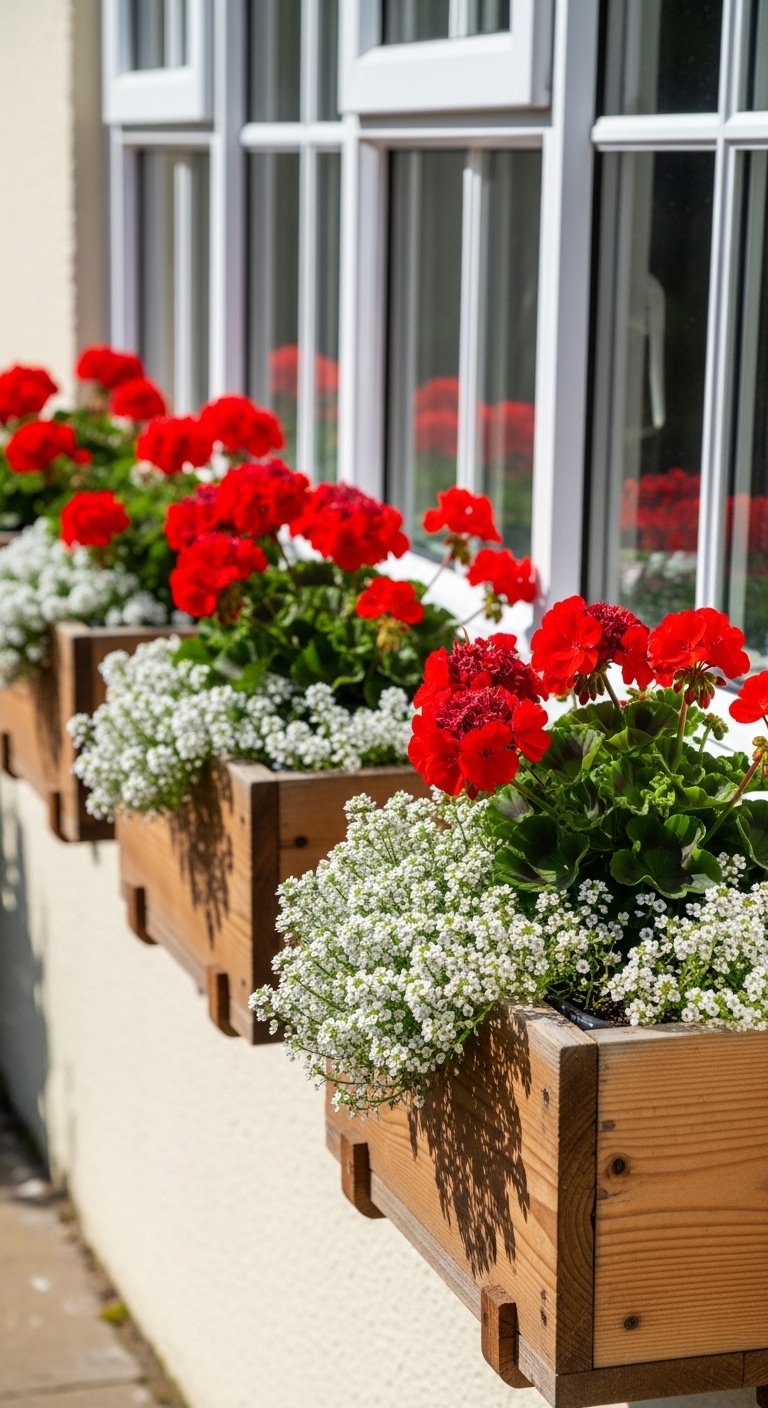
Window boxes make a cottagefront readable from the street. I use 24-inch boxes on standard windows, one box every 30 to 36 inches across a facade keeps rhythm. Fill with a mix of geraniums and trailing annuals, plant 3 to 5 per box depending on size. If you rent, use hanging brackets that avoid drilling like adjustable-window-box-brackets. A common error is choosing shallow boxes that dry out quickly. A detail other guides skip, line the box with a simple pond liner and 1 inch of gravel under soil for drainage during heavy rains.
Cottage Picket Fence With Natural Patina
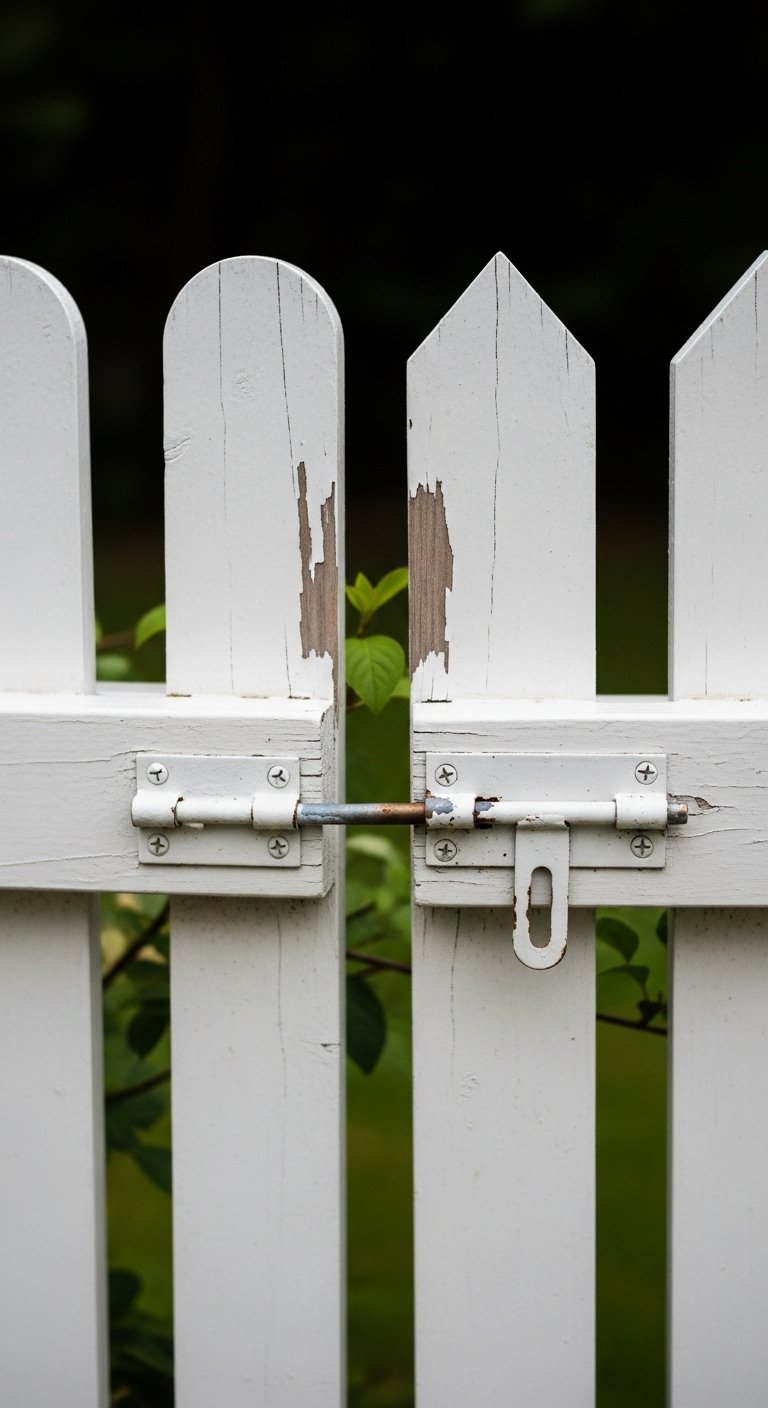
A picket fence reads as cottage instantly when it is uneven, not perfectly factory straight. I spaced pickets 3 to 4 inches apart and left the paint slightly sanded on corners so it ages naturally. Use galvanised screws and a simple gate latch like classic-gate-latch-brass for that vintage feel. Mistake to avoid, painting right to the soil line which traps moisture. I also find adding a low herb border along the inside makes the fence feel integrated, not decorative.
Worn Wood Door With Wreath And Hardware
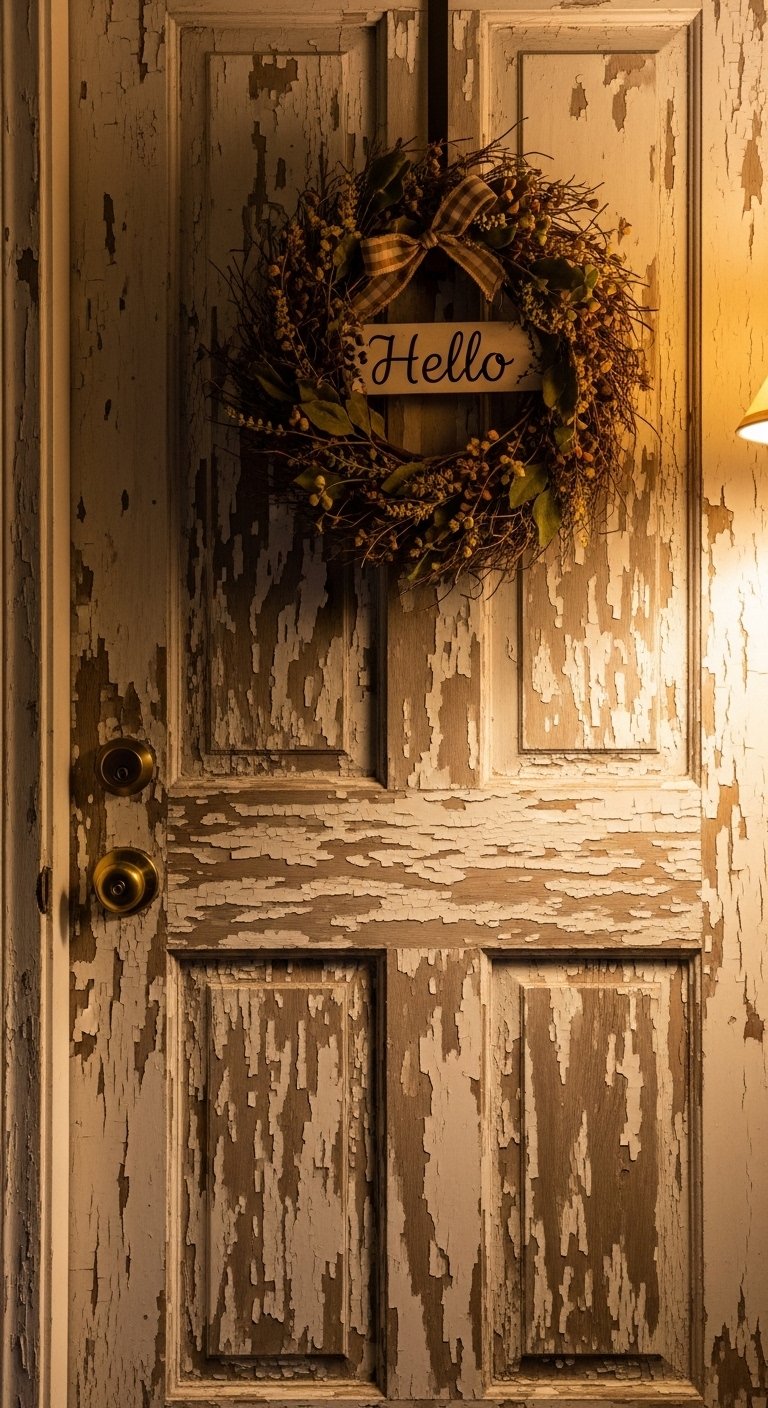
My door took the biggest hit. Repainted once in a saturated hue and then sanded back at edges for that worn cottage look. Swap out the doorknob to a solid brass piece and add a simple wreath that changes with the seasons. I used solid-brass-door-knob and it weighed the look in a good way. People often pick glossy finishes that read too new. One precise detail I use, aim for 2.5 to 3 inches of visible wood wear at the threshold before repainting to keep character without degradation.
Stone Path With Irregular Flagstones
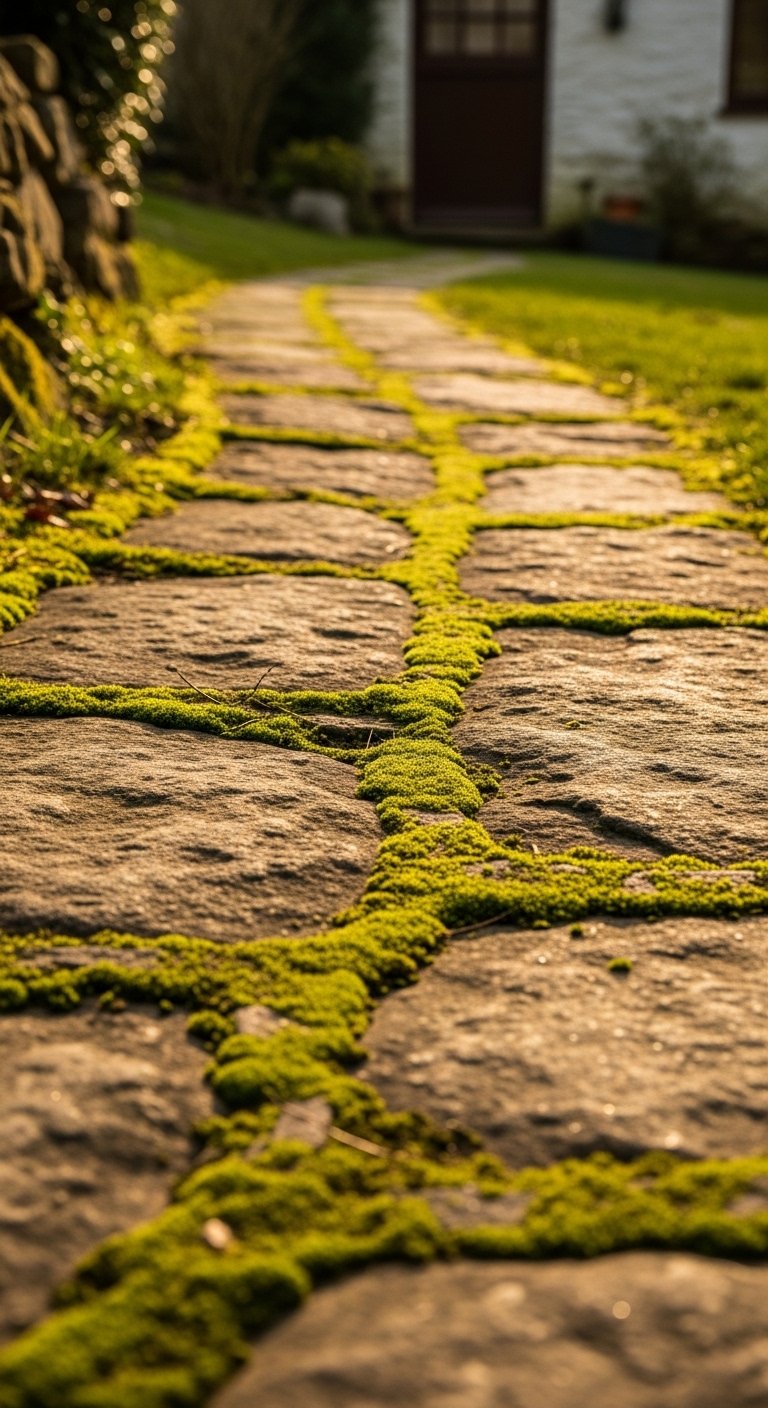
A front path can feel like a story. I replaced slab pavers with irregular flagstones laid with 2 to 4 inches between for moss and thyme to take hold. Plant low thyme in the joints and step on it in spring for scent. For the subbase use crushed stone compacted to 3 inches and set stones slightly proud so water runs off. A product I liked for edging is flexible-garden-edging-kit. Many people forget to set stones on a compacted base and then they shift in winter.
Lantern Lighting And Soft Warm Bulbs
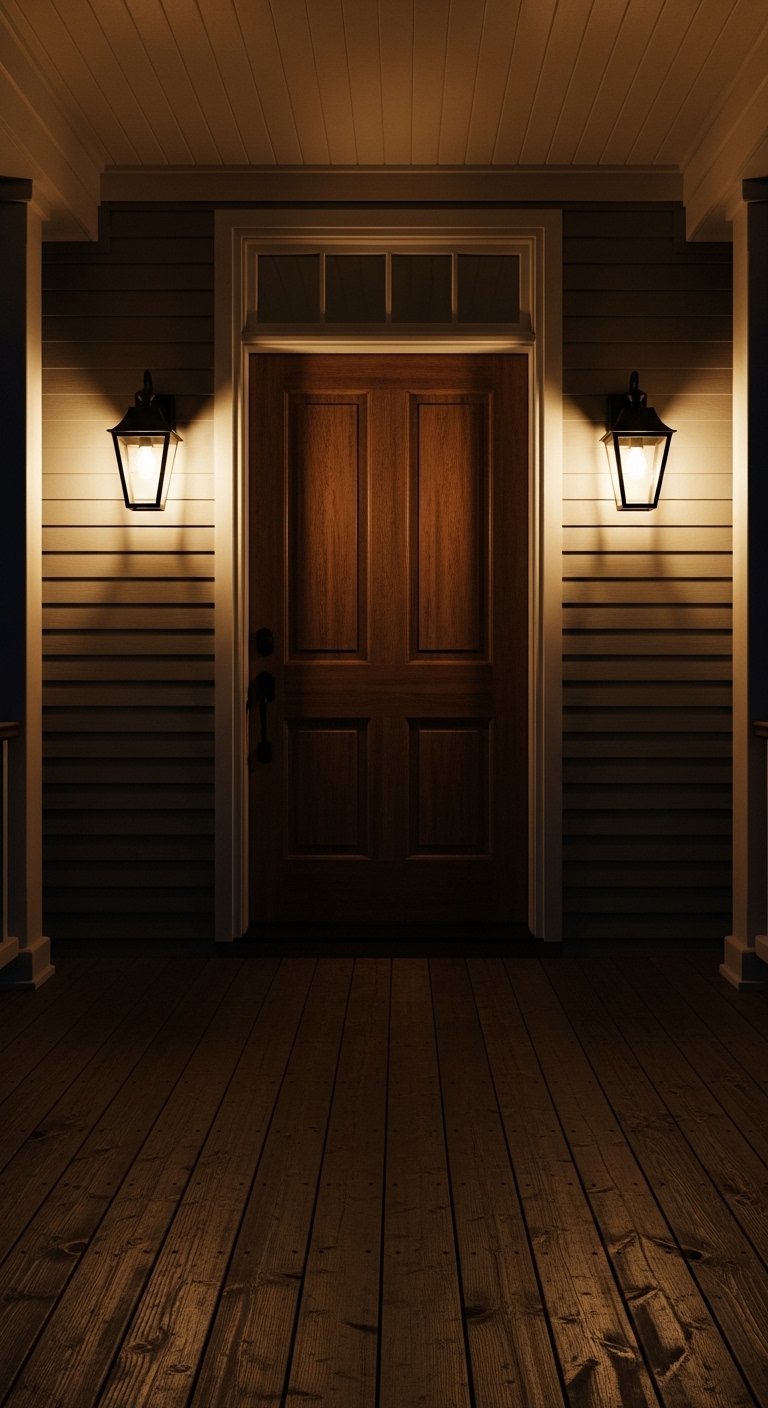
Lighting changes a cottage after dark. I swapped out harsh daylight bulbs for 2700K warm bulbs and added two symmetrical lantern sconces. I used outdoor-lantern-sconce-black and a low-glare filament bulb. One mistake, people pick a single overhead porch light which flattens the entrance. Instead, layer downlight and wall light. A specific tip, test bulbs in the evening at two distances from the facade so the hue reads right from the street and from the porch.
Layered Porch Textiles And A Bench
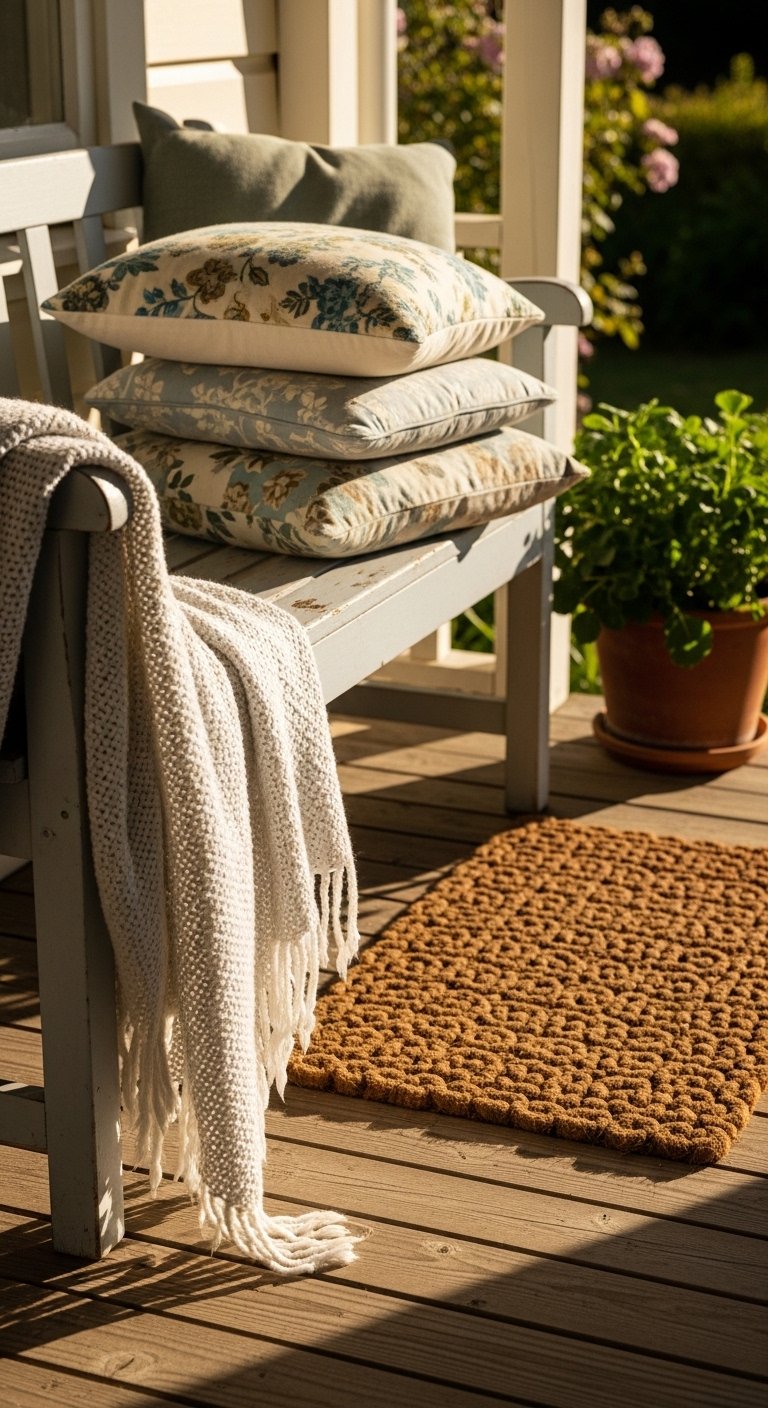
A narrow bench with a couple of cushions turns a porch into a pause point. I use a 42-inch bench for most single-door porches and two 18-inch pillows layered with a chunky throw. Weather-resistant-bench-cushion kept things low maintenance. Common error, leaving textiles inside and making the porch look unused. The detail I learned, anchor textiles with two mason jar weights underneath the cushion cover during windy seasons so nothing blows away.
Mismatched Ceramic Pots For Front Steps

I had a neighbor who collected mismatched pots and suddenly every doorway looked curated. Use odd numbers and varied heights. Place the tallest pot near the door at about 36 to 40 inches to visually lift the entry. I buy starter sizes and swap plants seasonally with mixed-ceramic-planters-set. People try to match exactly and end up sterile. The small detail most miss is staggering pot rims at different depths so rainwater does not pool in a single line across steps.
Wildflower Lawn Edge And Meandering Beds

I gave up on a perfect lawn and allowed a 2-foot wildflower strip along the sidewalk. It made the cottage front feel less groomed in a good way. Sow mixes in late fall or early spring depending on climate. A simple tool I used for initial prep is hand-seeder-garden-tool. People overplant because they fear bare spots, then crowding chokes seedlings. Spacing detail, seed at roughly 10 to 12 seeds per square foot for a natural look without bare patches.
Painted Shutters In Slightly Different Hue

Shutters painted just a shade darker than siding give depth without shouting contrast. I tested with two 2×2 boards, each one shade apart, and stood back 20 feet to choose. That helped because a third of matches flop under porch light. For durability buy exterior semi-gloss like exterior-semi-gloss-paint. Mistake, matching shutters exactly to siding which erases them. A small pro move, keep shutter trim 20 percent glossier than siding to catch light and show dimension.
Pebbled Gravel Driveway With Mossy Edges
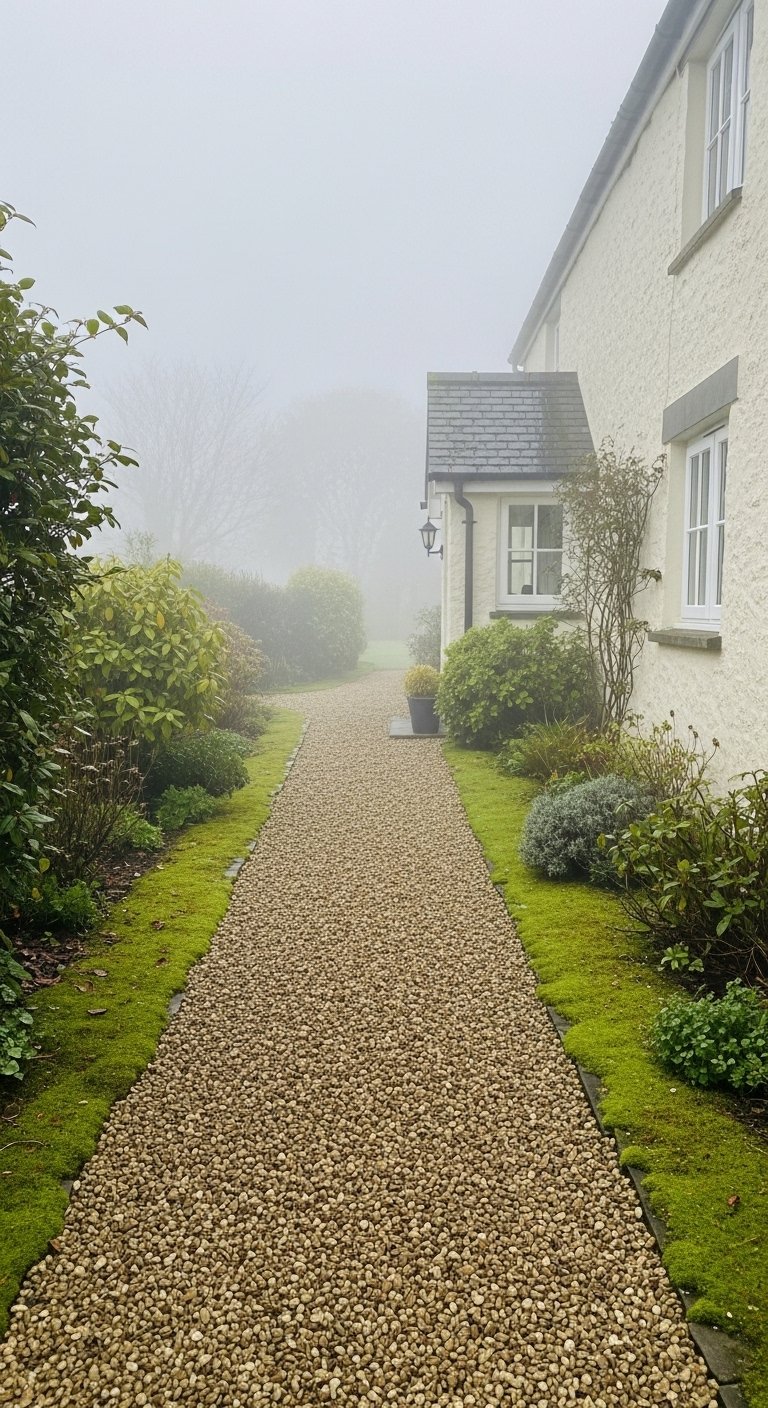
A gravel drive reads old country without fuss. I used 1 1/4 inch crushed stone with a 3-inch compacted base and a 2-inch top layer of decorative pebbles for looks. Line edges with cobbles and a 6-inch planting strip so moss softens the transition. I ordered pea-gravel-bulk-bag for a weekend project. People skip a compacted base and then the stones sink. A detail, sweep a fine layer of sand into the gravel after raking for better lock-in and less migration.
Vintage House Numbers And Brass Mailbox
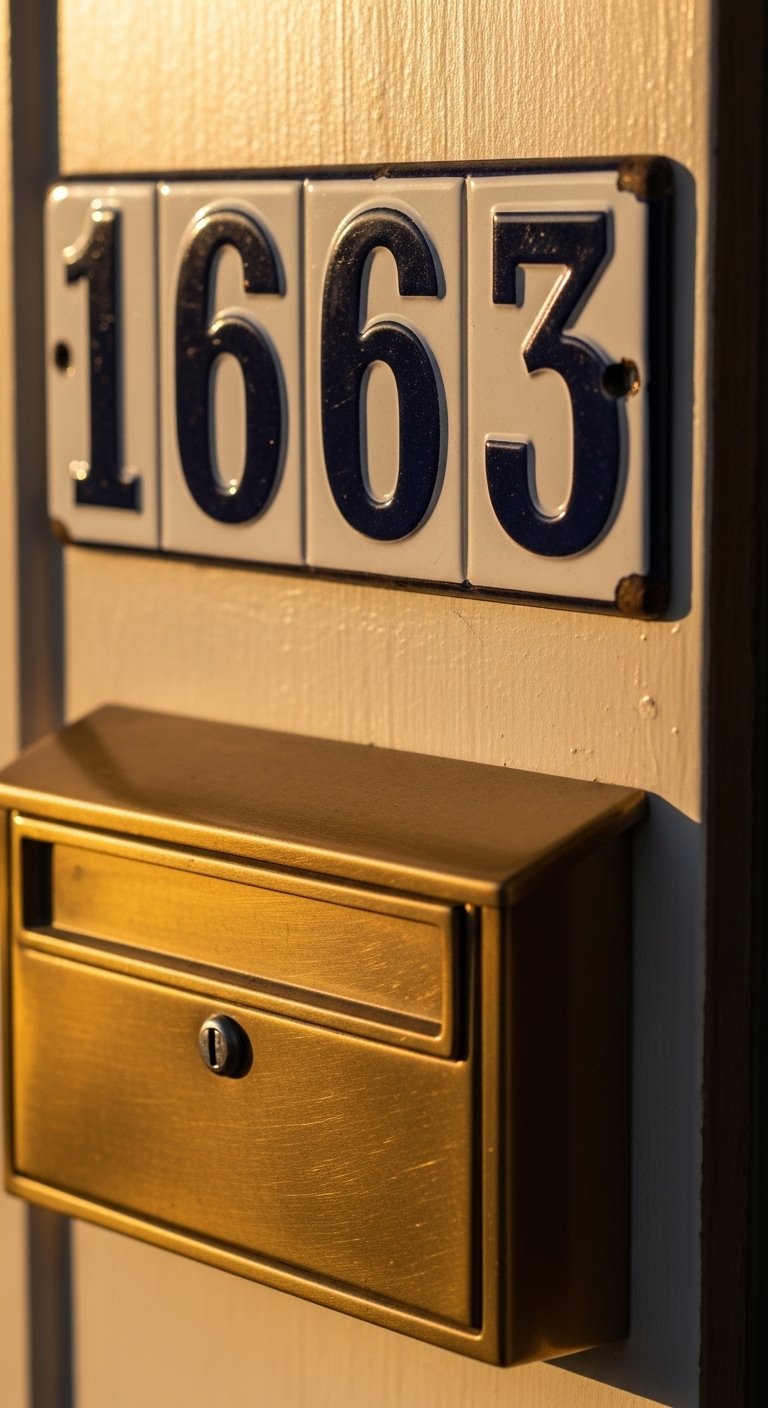
Never underestimate hardware. I swapped plastic numbers for 4-inch enamel numbers and a wall-mounted brass mailbox to anchor the address. I used enamel-house-numbers-set and a solid brass mailbox like brass-wall-mailbox-vintage. Mistake to avoid, choosing a font that is too modern for a cottage. A tiny detail, mount numbers 60 to 64 inches off the ground so they read at eye level from the sidewalk.
Your Decor Shopping List
- Honestly the best $35 I spent, Weather-resistant bench cushion in faded floral for a 42-inch bench
- For window boxes, 24-inch wooden window box planters with brackets, durable cedar look
- A small paint-testing kit, exterior-paint-sample-pots to make 2×2 board swatches
- Keep bulbs warm, 2700K outdoor-filament-bulbs-4pack for porch lanterns
- Planting basics, mixed-ceramic-planters-set in varied glazes for steps
- For garden structure, cedar-wood-trellis-6ft that takes climbing roses well
- Gate hardware with character, classic-gate-latch-brass
- Gravel needs, pea-gravel-bulk-bag for driveway top layer
- Small tools I use for planting and prep, hand-seeder-garden-tool
Most of these are budget friendly. Similar finds at HomeGoods or your local garden center are great if you prefer to inspect finishes in person.
Shopping Tips
Grab exterior-paint-sample-pots and make two 2×2 boards. Move them around the porch for a full day. A third of matches flop because of bad lighting, so test in morning and evening.
White or cream trim should be warmer, not stark. Try a slightly yellowed cream like the samples in exterior-semi-gloss-paint and stand 20 feet back to confirm.
Buy one standout plant rather than five small ones. Mixed-ceramic-planters-set with one 36-inch specimen by the door makes more impact than repeating the same pot.
Swapping brands saves cash. Swapping brands shaves $10-20 off every can, so ask paint counters to pull competitor formulas while you upgrade to a more durable base.
If you need hardware that ages well, pick solid brass. Solid-brass-door-knob will patina in the right way and lasts decades.
Frequently Asked Questions
Q: Can I get a cottagecore look on a tight budget?
A: Yes. Start with paint samples and one focal change like window boxes or new hardware. Small items like 24-inch window box planters often do more work visually than a big ticket piece.
Q: How do I know which paint shade reads right on my house?
A: Make 2×2 test boards and check them at different times. Most paint pros scan now and then eye-check, so combine data with real light testing. Move the boards to shadow and direct sun to avoid surprises.
Q: My curb appeal looks forced when I try too many things. What should I do?
A: Pick one strong change and one soft change. For example, install a painted door plus a wildflower edge. The strong move anchors the look, the soft move makes it feel organic. Avoid matching everything exactly, slight variation feels authentic.
Q: Can I mix hardware metals on the front elevation?
A: Yes. Mix brass for the mailbox or knob with aged black for lights. Mixing metals gives layers, just keep finishes within the same warmth range so they read cohesive.
Q: I rent and cannot change paint. Any renter-friendly options?
A: Focus on non-permanent additions like window boxes with brackets that avoid drilling, a freestanding bench with cushions, and potted plants. Mixed-ceramic-planters-set works well because you can take them with you.
Q: How do I keep gravel drives from shifting into plants?
A: Put down a compacted base first and install edging stones. A top layer of pea gravel like pea-gravel-bulk-bag looks tidy and locks better when swept with a bit of sand into the joints.